I have a deep interest in using computers well beyond their expected shelf life. I am writing this in 2023 and have a 2012 iMac that has been in regular use up until I won this 2012 Mac Pro on eBay for the paltry sum of $147 USD. CPU performance gains were starting to plateau around the time these computers were made, and only fairly recently have newer designs such as Apple Silicon and AMD’s chiplet based CPUS begun to push the envelope again, particularly in consumer hardware. Yes, the new Apple Silicon chips and AMD’s Threadripper thrash the Intel Xeon’s in this Mac Pro, but it still holds its own against a multitude of newer CPUs and I think this is very cool.
To run a currently supported version of macOS on an older Mac you have to use OpenCore Legacy Patcher. This provides the environment to allow an unaltered installation of macOS, but first things first…
Do not even attempt to install a version newer than macOS High Sierra unless you have a Metal compatible graphics card.
I learned this the hard way. If you attempt to use OCLP to install a version of the macOS that requires a Metal capable GPU, and you do not have one, you will end up with a blank screen. You won’t even be able to get into the normal Mac boot picker screen, Internet Recovery, anything. You will be terrified that you broke your Mac and will be frantically searching internet forums while drinking yourself into a tupor.
Don’t do this.
I also recommend that if you have a currently booting install of a currently supported macOS on your stock system to preserve that drive. On the Mac Pro you can easily just pull that drive out to keep on hand in case things go wrong. Once you go down the path of OCLP you will not be able to boot from the stock card. You will not have a boot menu. Getting back to normal will be a pain in the ass.
After learning my lesson, I grabbed the cheapest lowest power GPU I could find locally, which was an AMD RX 550 4GB. I chose this because I read it was supported and I didn’t have to worry about power requirements. I do not have high demands for graphics, so I hoped this card would suit me for a while.
The RX 550 allowed me to get macOS Monterey installed and booting, however; hardware accelleration does not work. The model I have is a PowerColor Radeon RX 550 4GB.
Of course I found this bit of documentation after having bought the card, which says to avoid PowerColor branded cards.
Another lesson: OpenCore is a project for hackintoshes that also happens to have a patching tool for legacy Macs. Most things are documented, but I found that I had to look at the hackintosh stuff too for a fuller picture. Fools rush in and I am a fool.
The good news is, at this point I knew I hadn’t ruined anything, the Mac is booting. Now I just needed to settle the graphics issue once and for all…
Read the GPU Buyers Guide. Make your life easy.
And read it carefully. There are a number of gotchas such as brand and power consumption. Some cards have issues with macOS even if the chipset is supported (like the PowerColor cards), and some more powerful cards require more power than experts in the community think the Mac Pro motherboard can supply.
For funky cards, you can apparently flash a new vBIOS onto them, or spoof the device ID so that macOS thinks it is a different card. Or, you can just sell or return your non-macOS-friendly card and get a different one. I chose the latter option.
I am also not interested in modifying the power supply on my Mac Pro. If I needed modern high end graphics performance, maybe I would, or maybe I’d just buy or build a newer computer. This is, at the time of writing this, an 11 year old computer. Expectations should be managed.
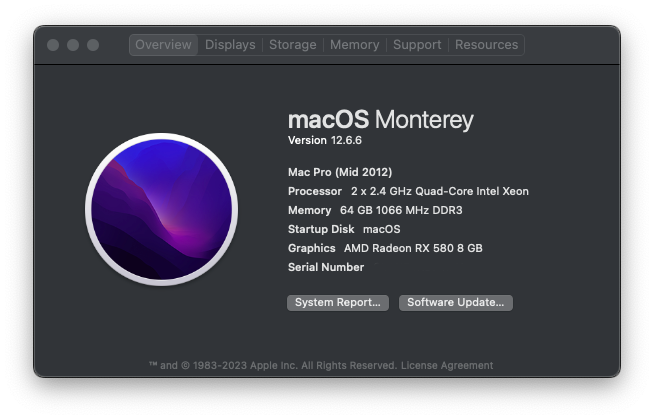
Apple has an old support page mentioning specific card makes and models that work in the Mac Pro. I purchased a card from this list, the SAPPHIRE Radeon PULSE RX 580 8GB GDDR5.
This card requires an 8-pin power connector, so an adapter cable is required. I used this one from Amazon.
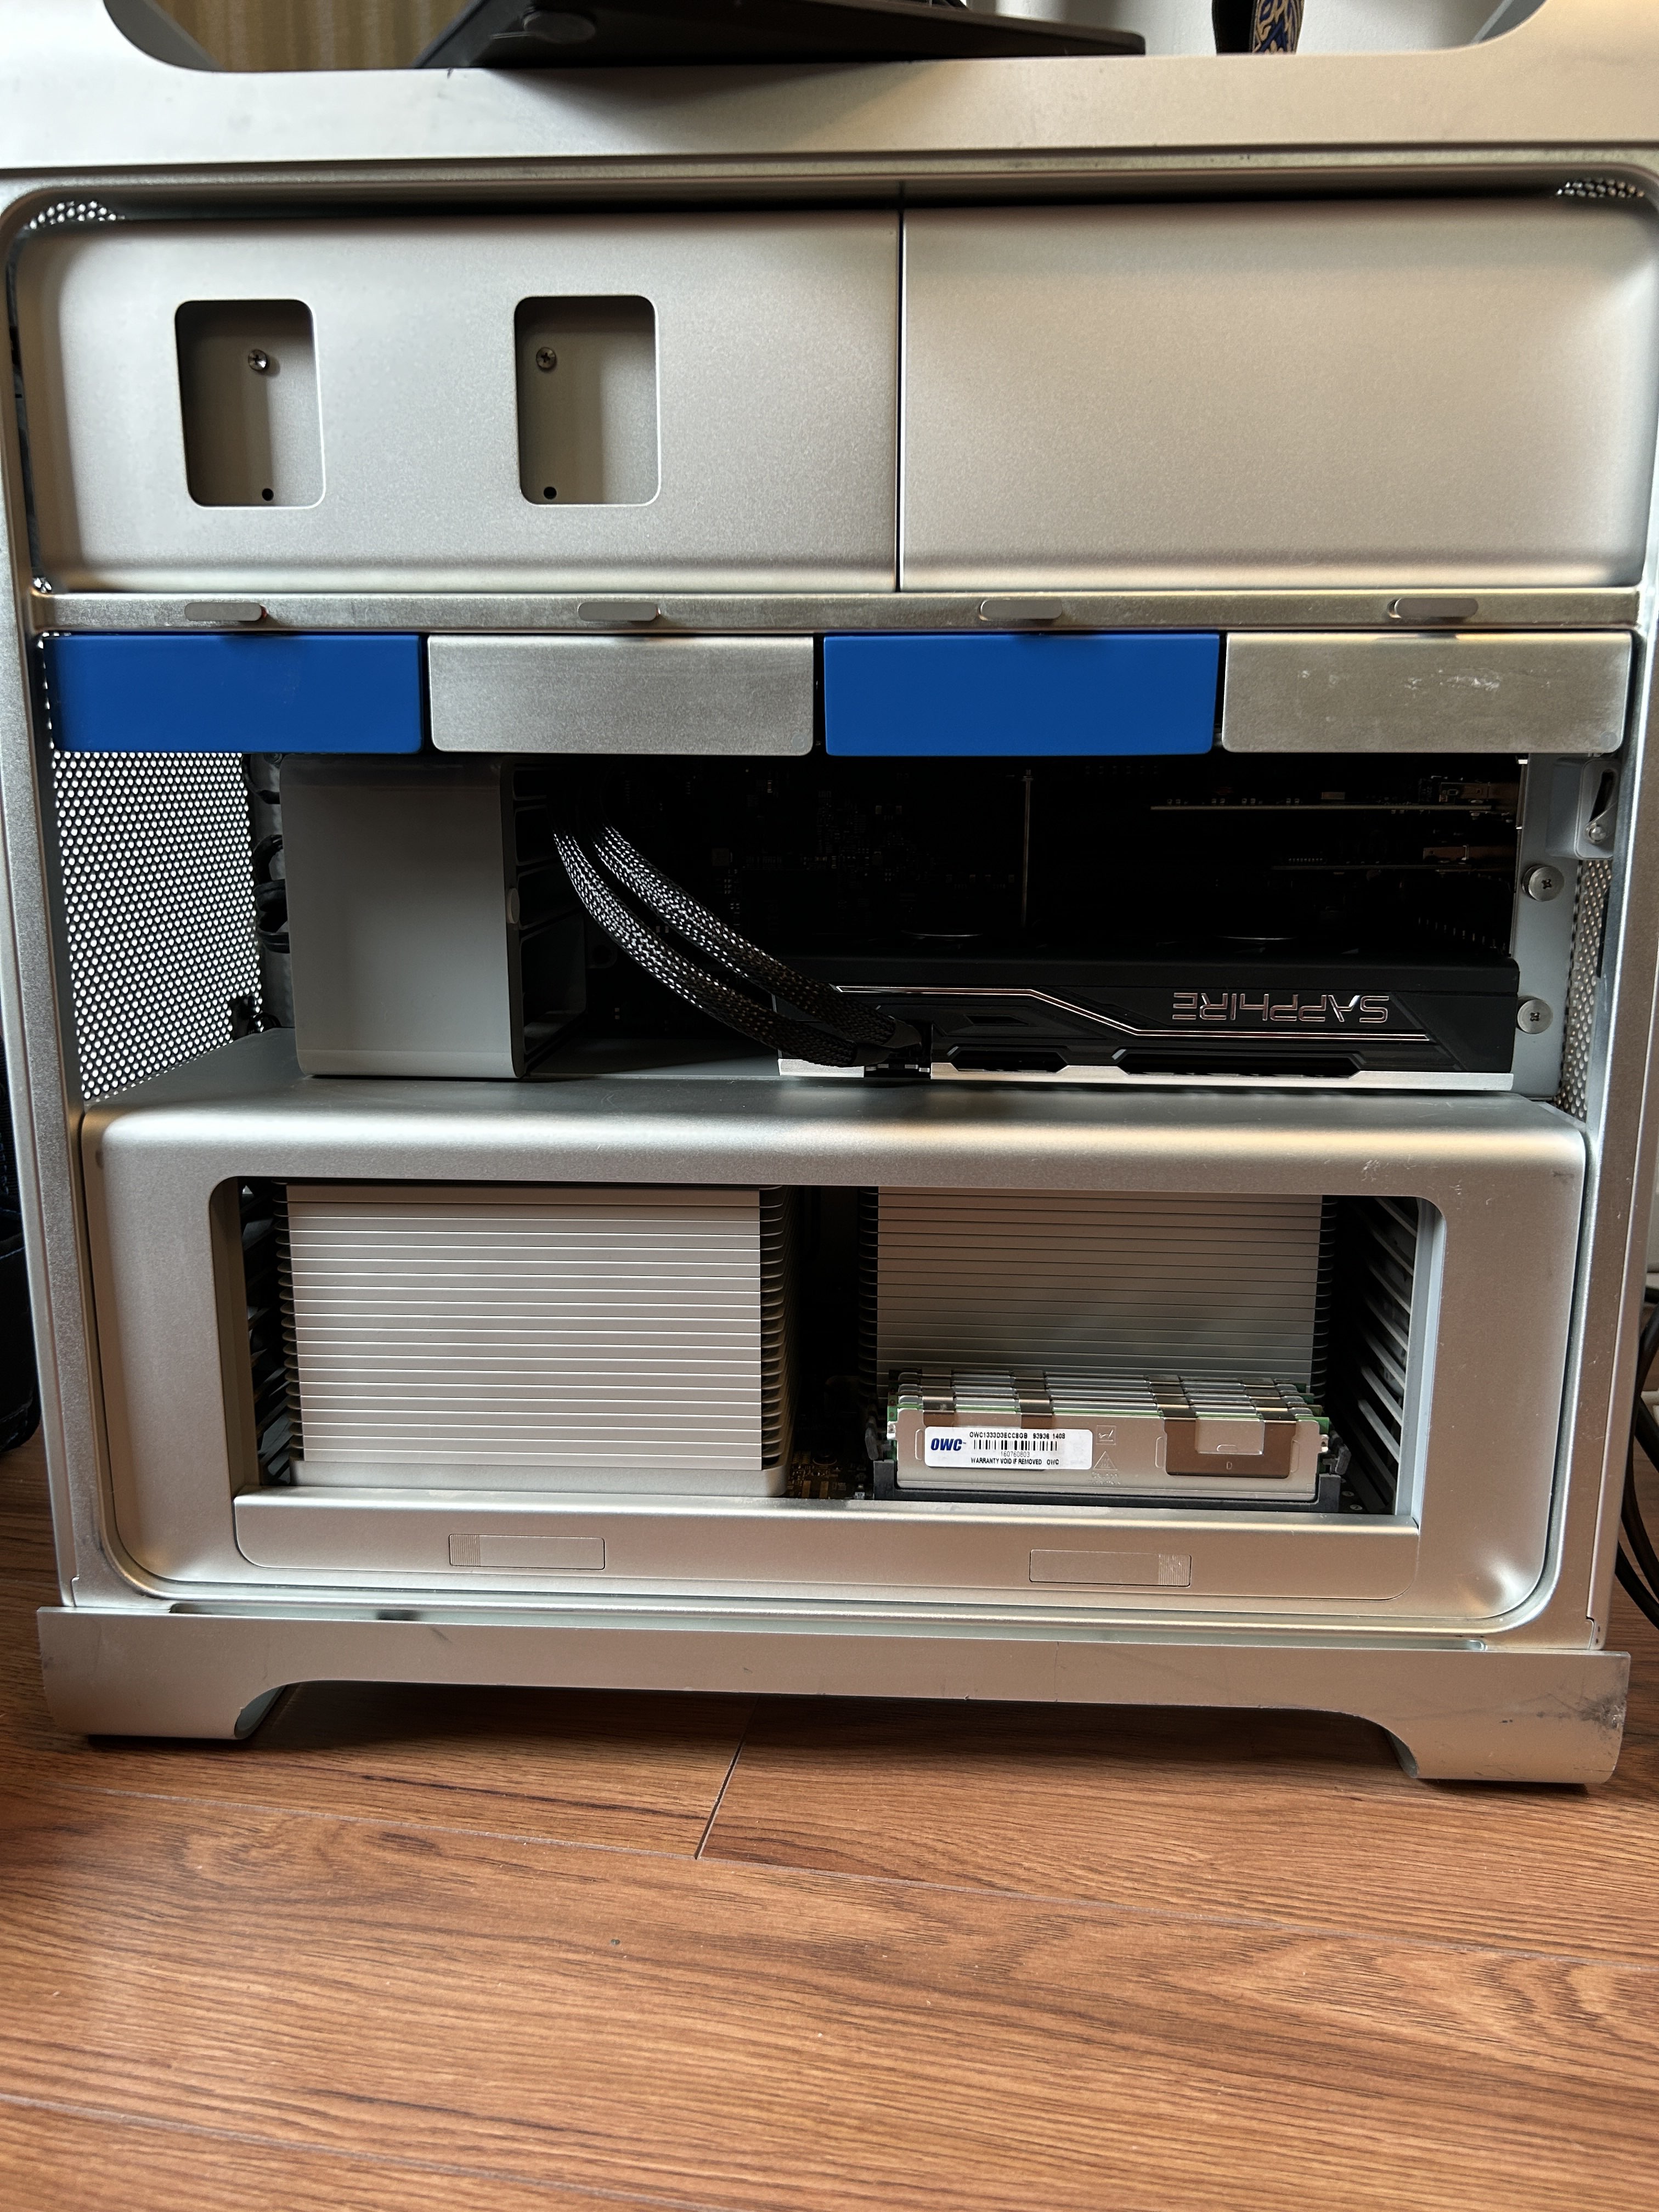
After installing a proper graphics card I was able to boot into macOS Monterey with full graphics acceleration! Now to upgrade everything else I can!